

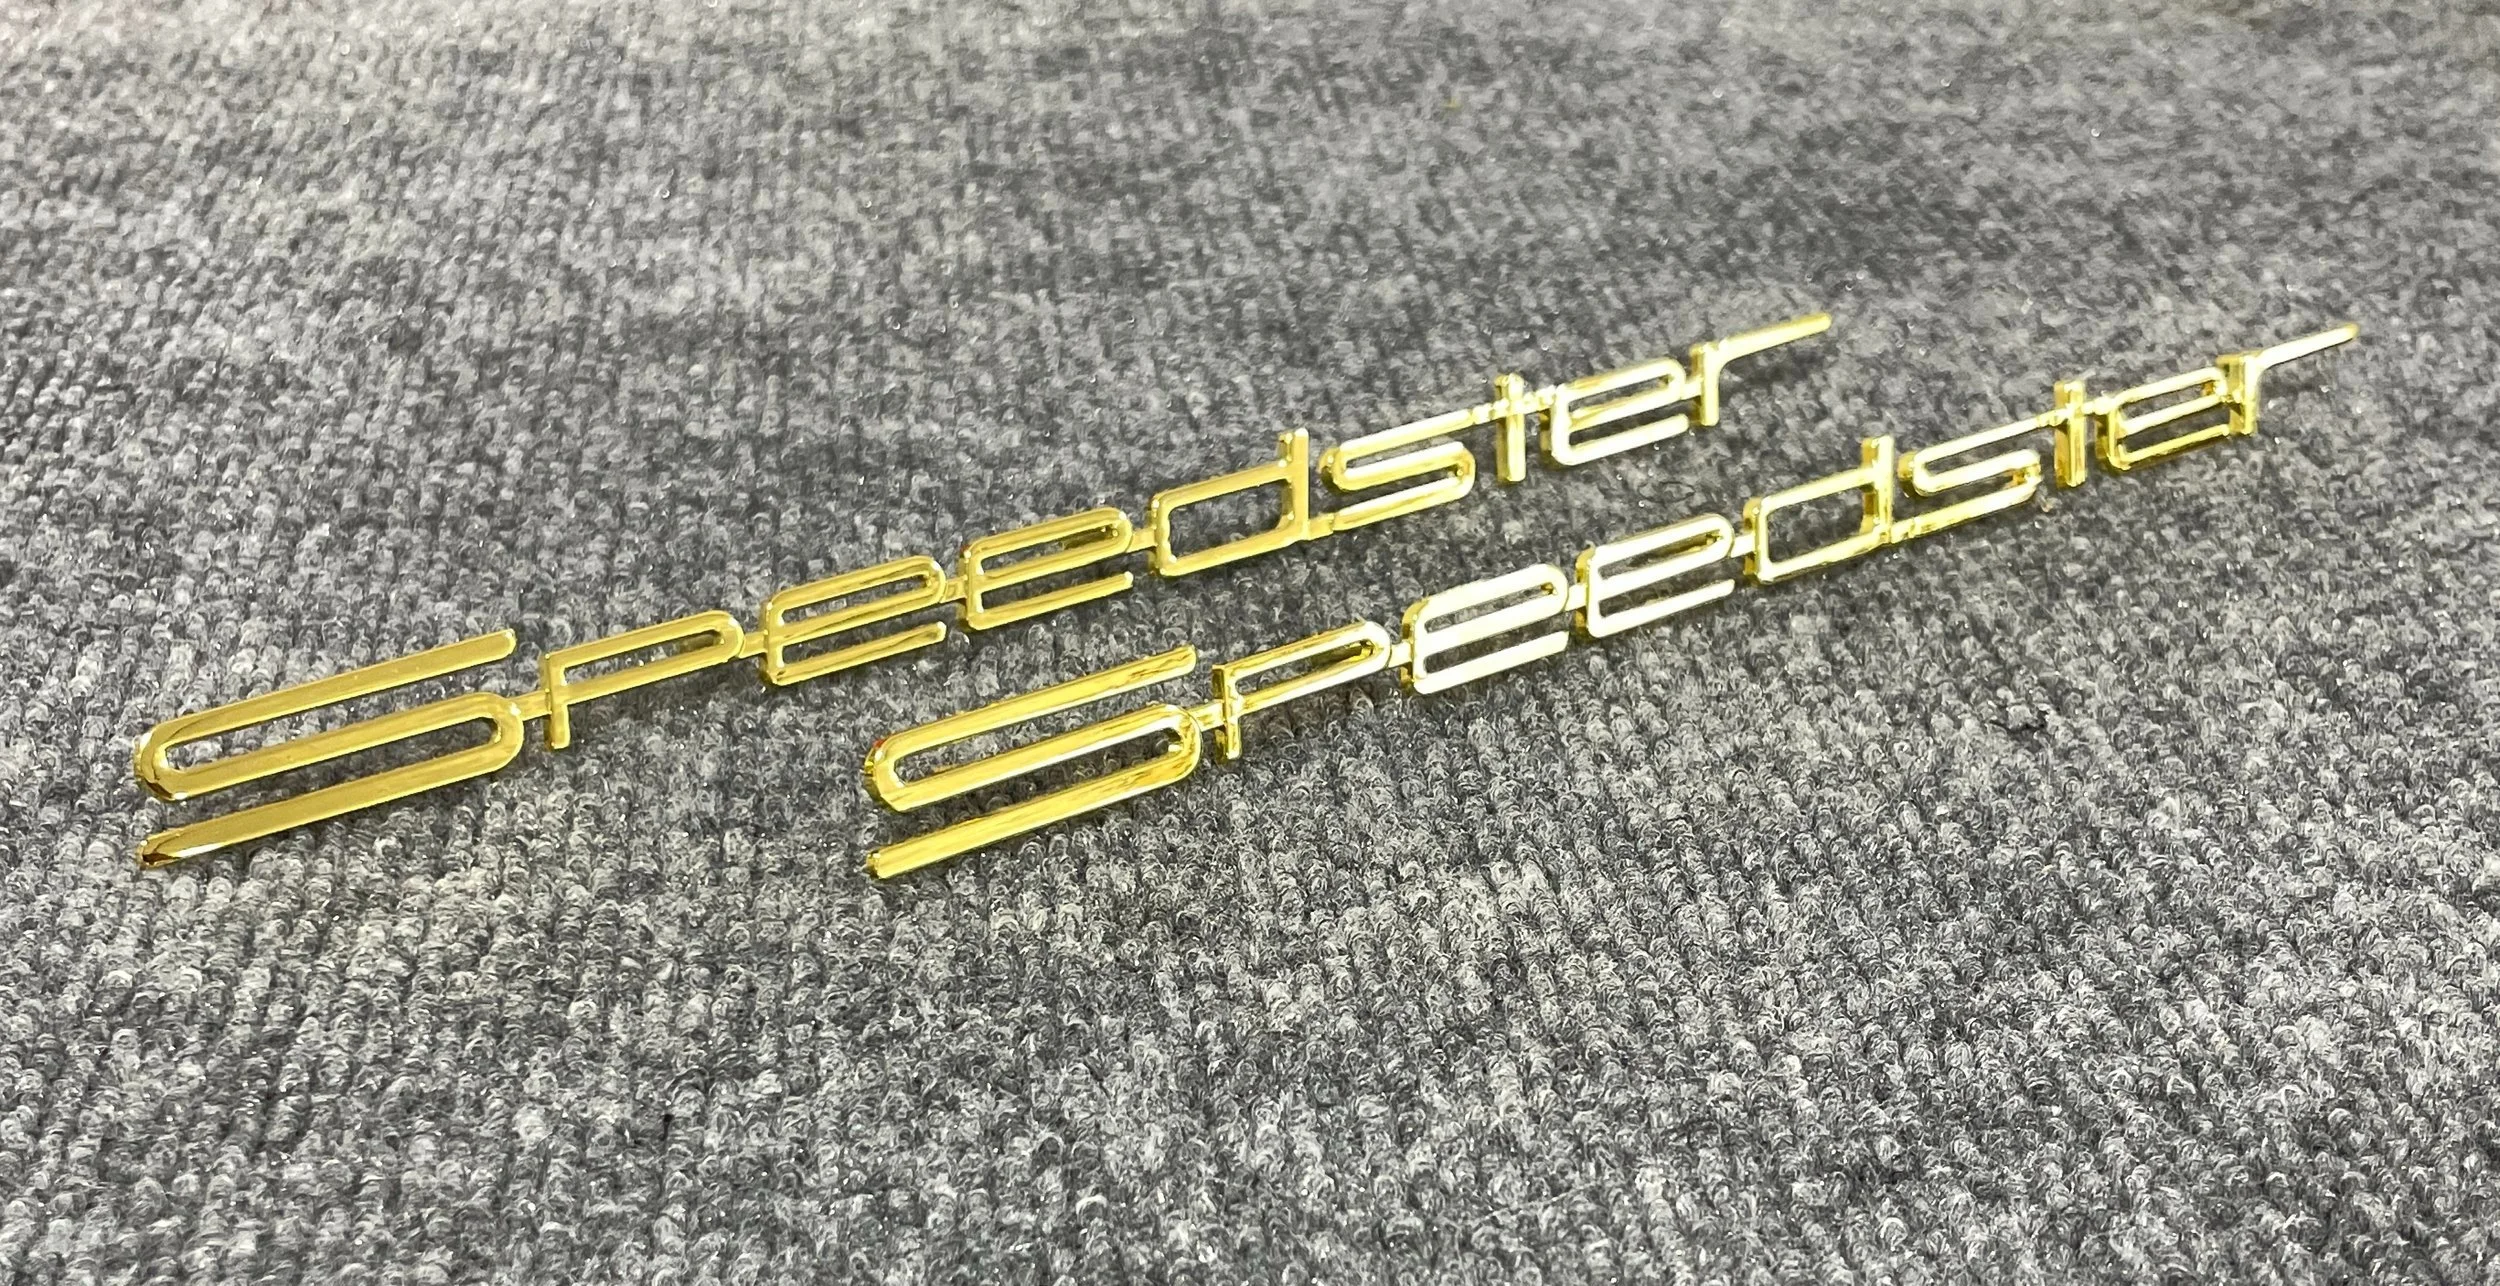
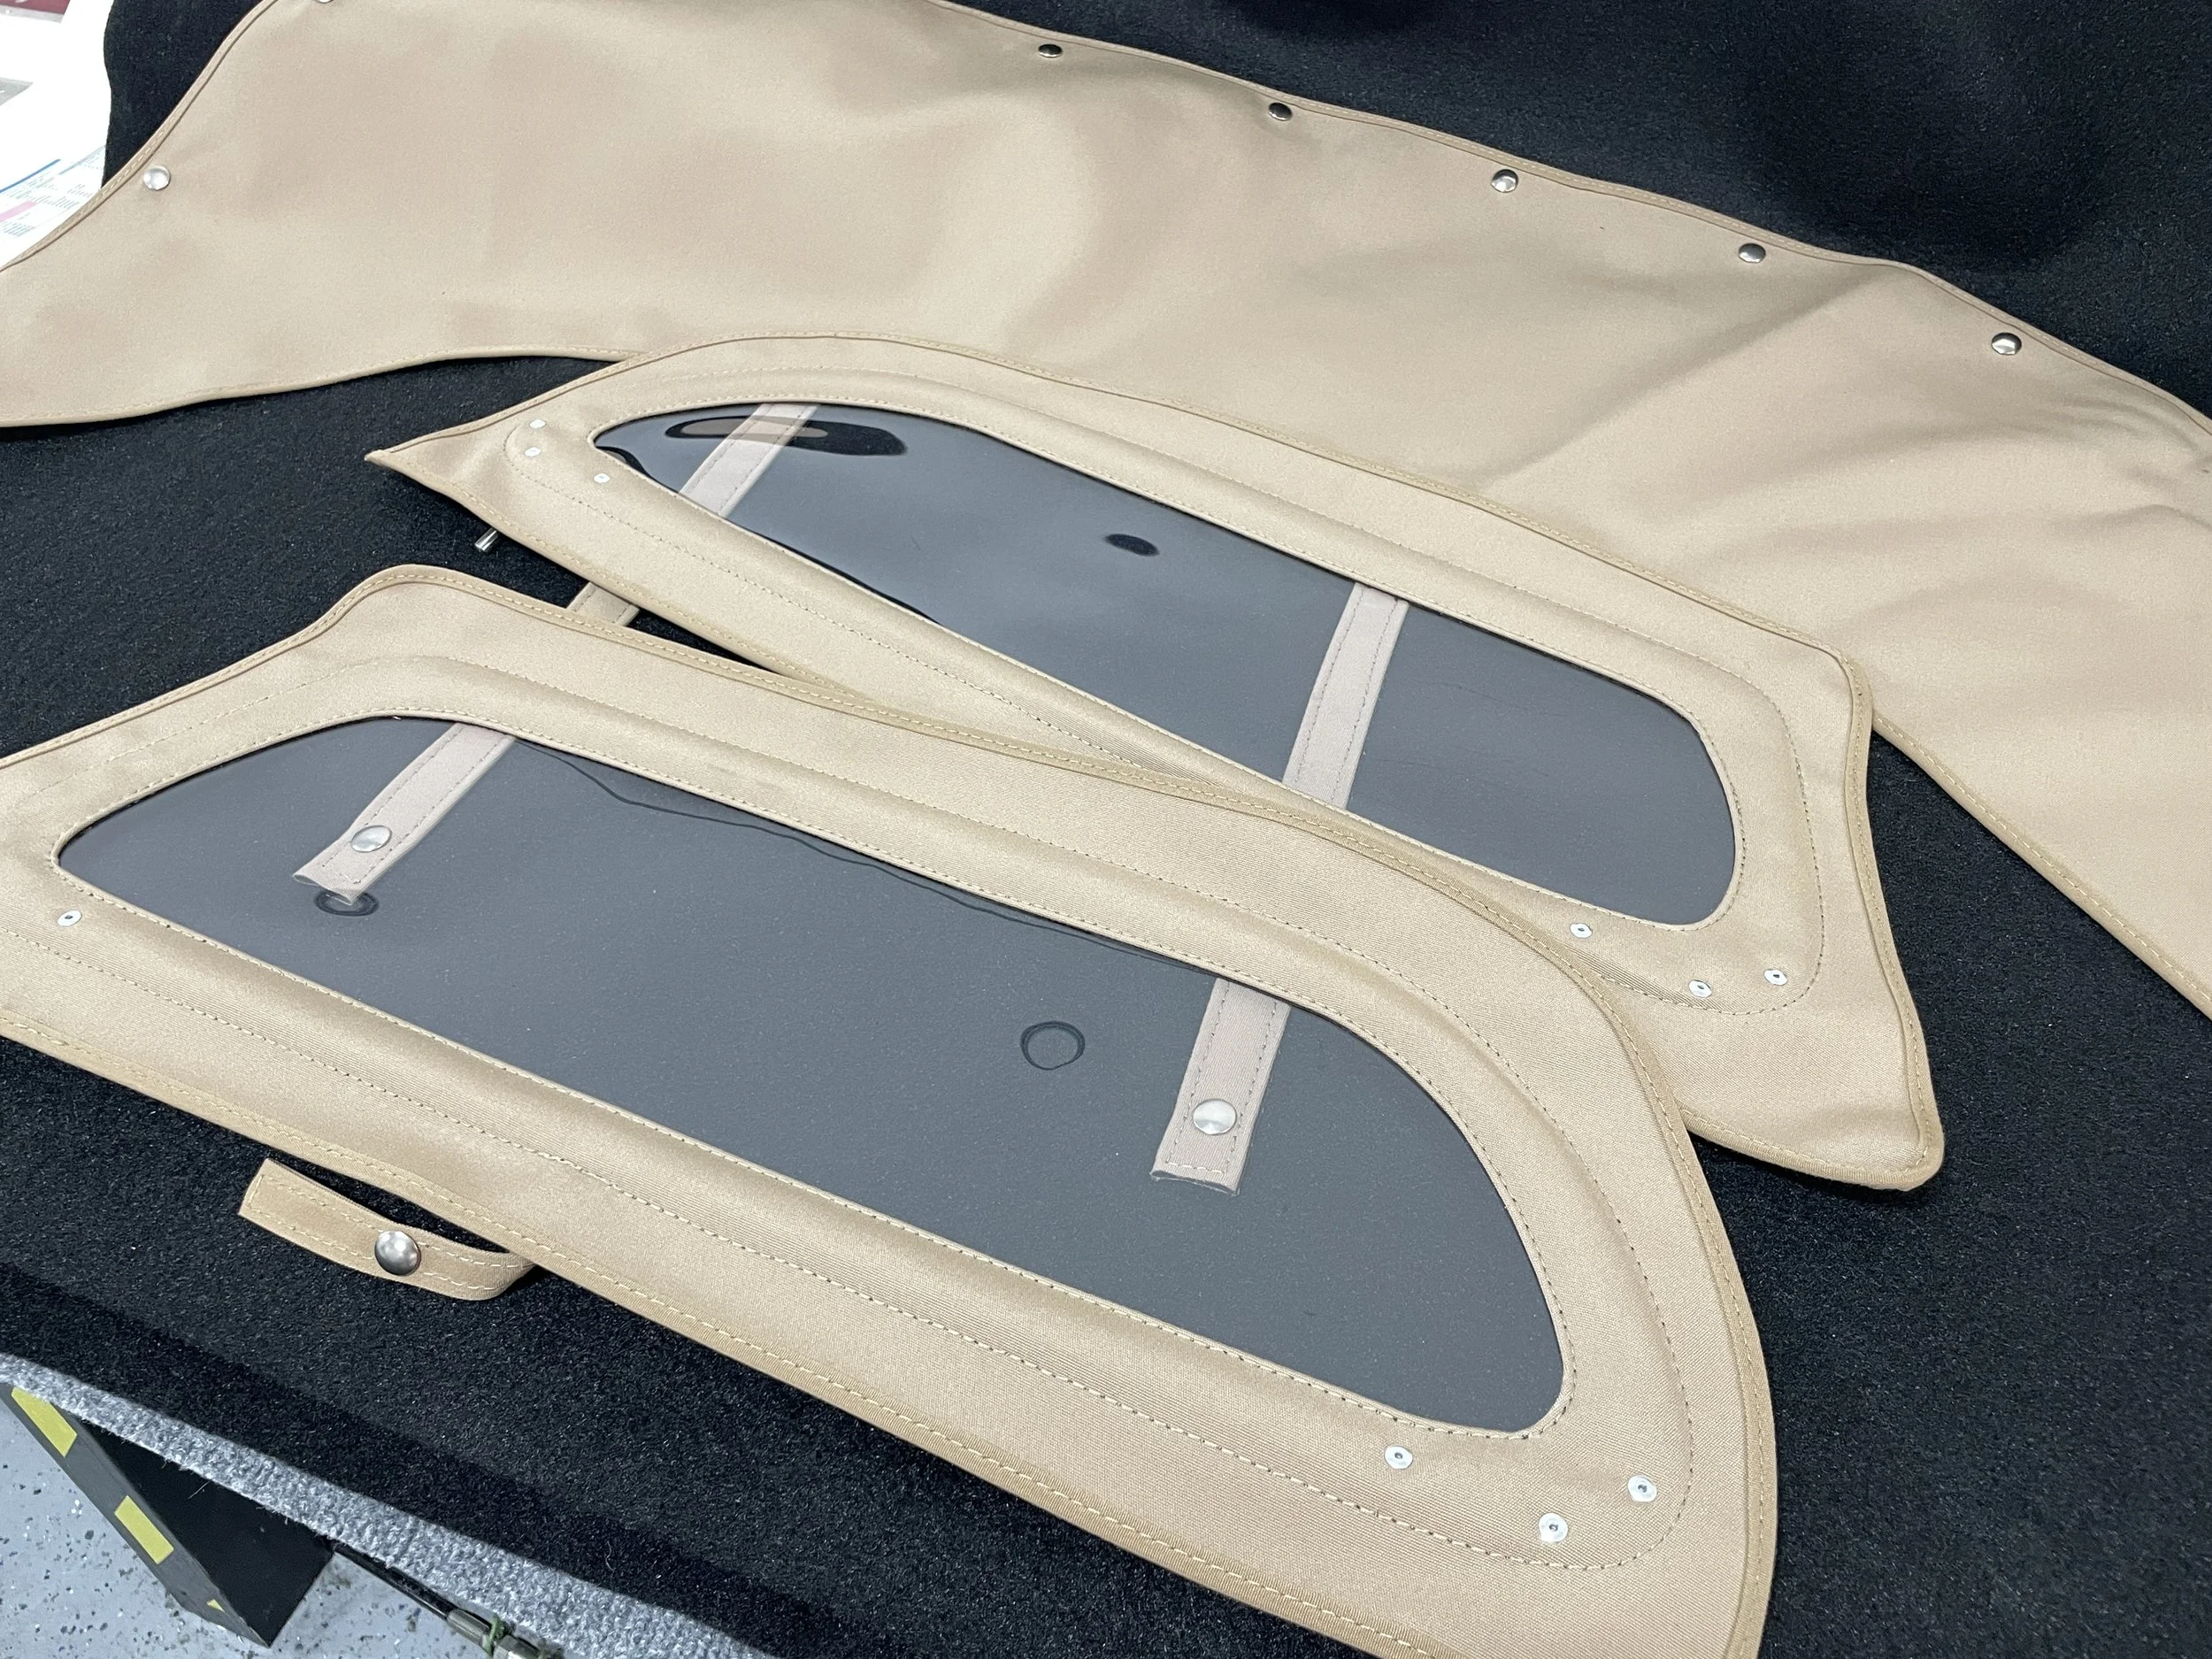
Vintage sent some bits that didn’t arrive with the car. We got the gorgeous gold Speedster badges. We also received the custom door windows as well as the soft top windows.

The main focus this week was getting the battery boxes tested in the Speedster, and they got all three boxes in there! This involves precisely measuring and placing mounting points for the fasteners, carefully lowering the boxes into place, and then securing them. This took more time due to the variances we talked about in the fiberglass construction. But after multiple positioning attempts they nailed it.
Next they checked for clearances and made sure routing paths for cooling and HV lines were accessible. They’ll triple check the mounts then cautiously take the boxes out so the mounts can be powder coated.

As we discussed, the engine bay had enough of a variance to the previous Speedsters that we had to remake the engine platforms. We received the redesigned platforms this week and as soon as they arrived we test fit them to make sure they cleared the motor and mounted to the bay as designed.
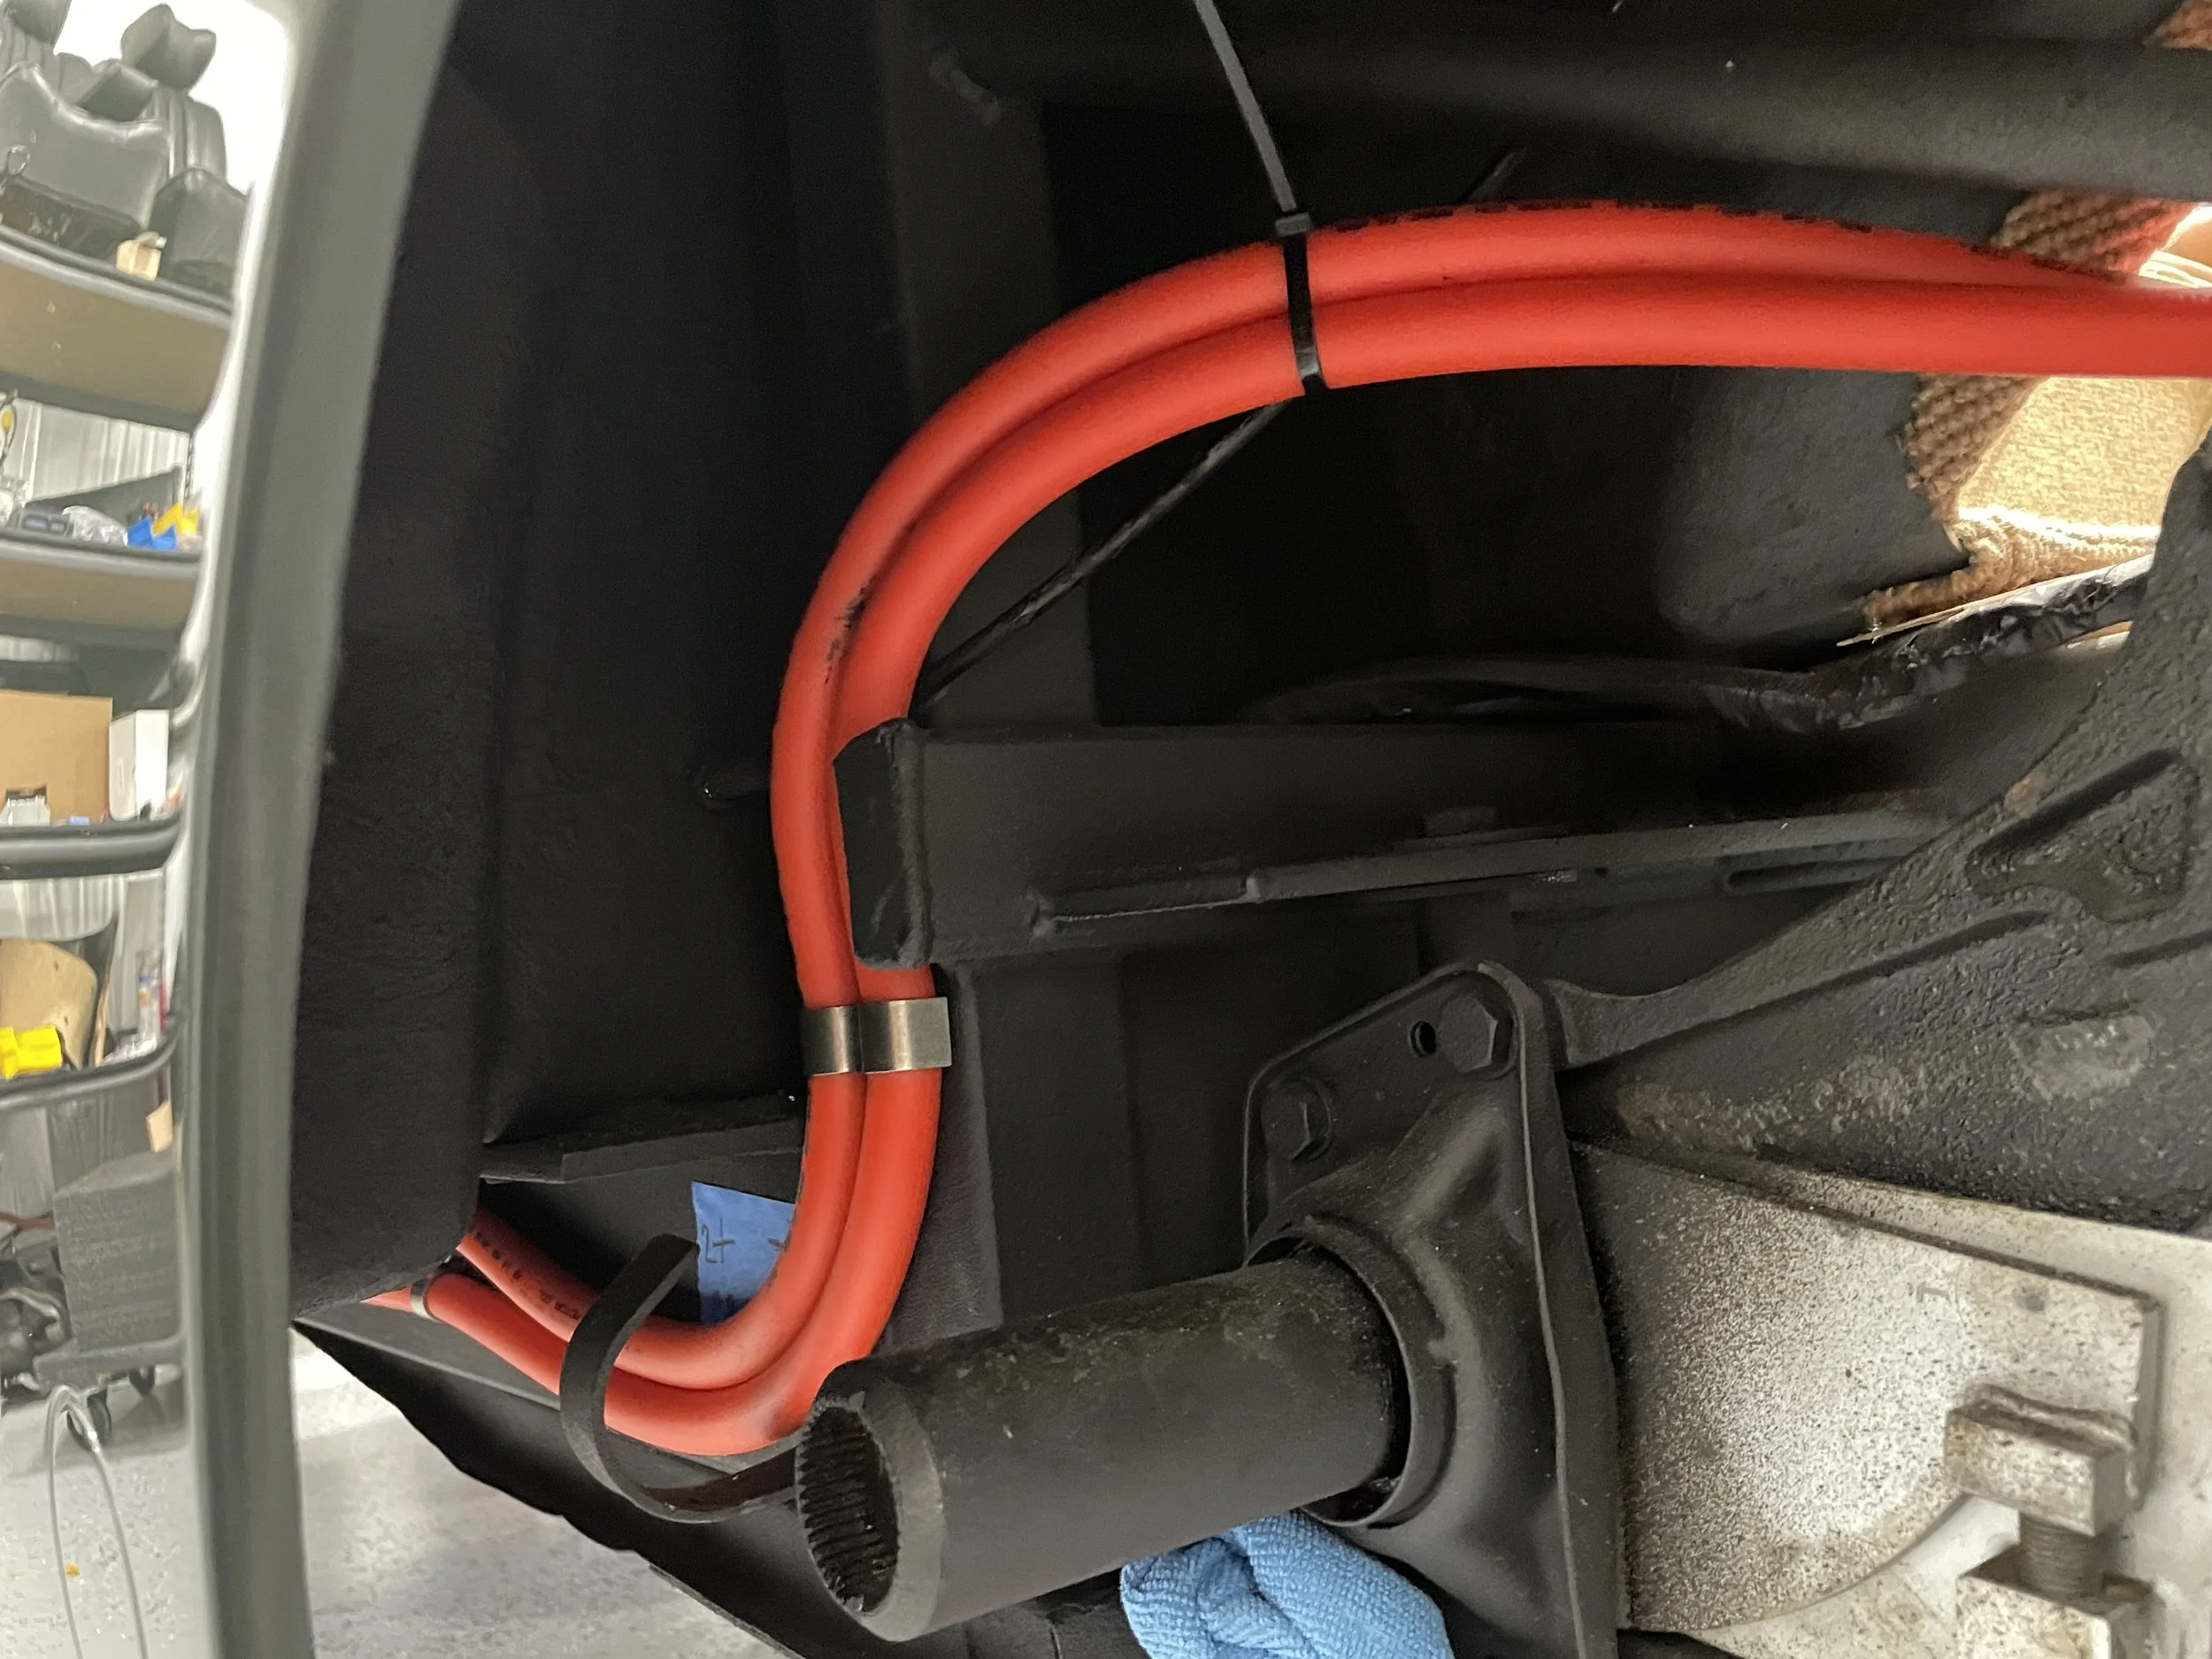
Routing of the high voltage cable from front to rear has begun. Care is taken to make sure paths are efficient and look good also. Stainless steel line clamps are used to support the cable to the frame. Cable ties are used temporarily so adjustments can be made before mounting the clamps permanently.
We balanced three Hyper 9 motors on the bench the past week, including yours. The process includes installing the flywheel coupler first (the blue component on the output shaft) then the flywheel and lastly the clutch pressure plate. Runout is checked at every step. Even when quality components are balanced, a tiny bit of runout (thousandths of an inch) can cause vibration. In the original flat 4 that’s no big deal, but with a smooth electric motor, it can be noticeable. So the balancing process is key.
In a neat example of futuristic tech, we use an accelerometer to test vibration. When they identify the RPM ranges that are the worst, they take a baseline measurement. They add weights (washers) to a bolt or two on the pressure plate, carefully observing for improvement or worsening of the vibration. The motor and separate components are likely balanced by their manufacturers but this is the first time the assembly together is balanced. It’s amazing that the weight of a couple washers can have a huge effect.
You can see how the vibration improves based on the screenshots below. We typically get an 80-90% reduction in vibration with only 2-3 washers placed in very specific locations.


She’s here! Some of the crew and the owner were there to greet her when the transporter rolled up. We rolled her in to the shop after everyone got to check her out. Pretty soon that empty engine bay will look completely different.
The Speedster custom build is complete at Vintage! That Oak Green Metallic looks spectacular. Next stop is Austin, TX to start the EV install. Can’t wait to get it here.
The Speedster has made some great progress at Vintage the past few weeks. Looks like it’s almost ready for its trip to Austin.
Car is coming along at Vintage. The exterior bits appear to be mostly in place, and the interior is well underway.
The hard parts of the Speedster have started to arrive in preparation for the conversion. These are all part of the front trunk, or frunk. It’s a bit abstract in this form, but these are the battery keepers, frunk plates, and frunk lids.
The charger and DC/DC converter have arrived from Elcon. The charger is the main unit that manages recharging the battery packs. And the DC/DC converter’s job is to take direct current and then raise or lower the voltage to another level, so the output current is different than the input current. The converter does this by storing the energy and distributing as necessary.
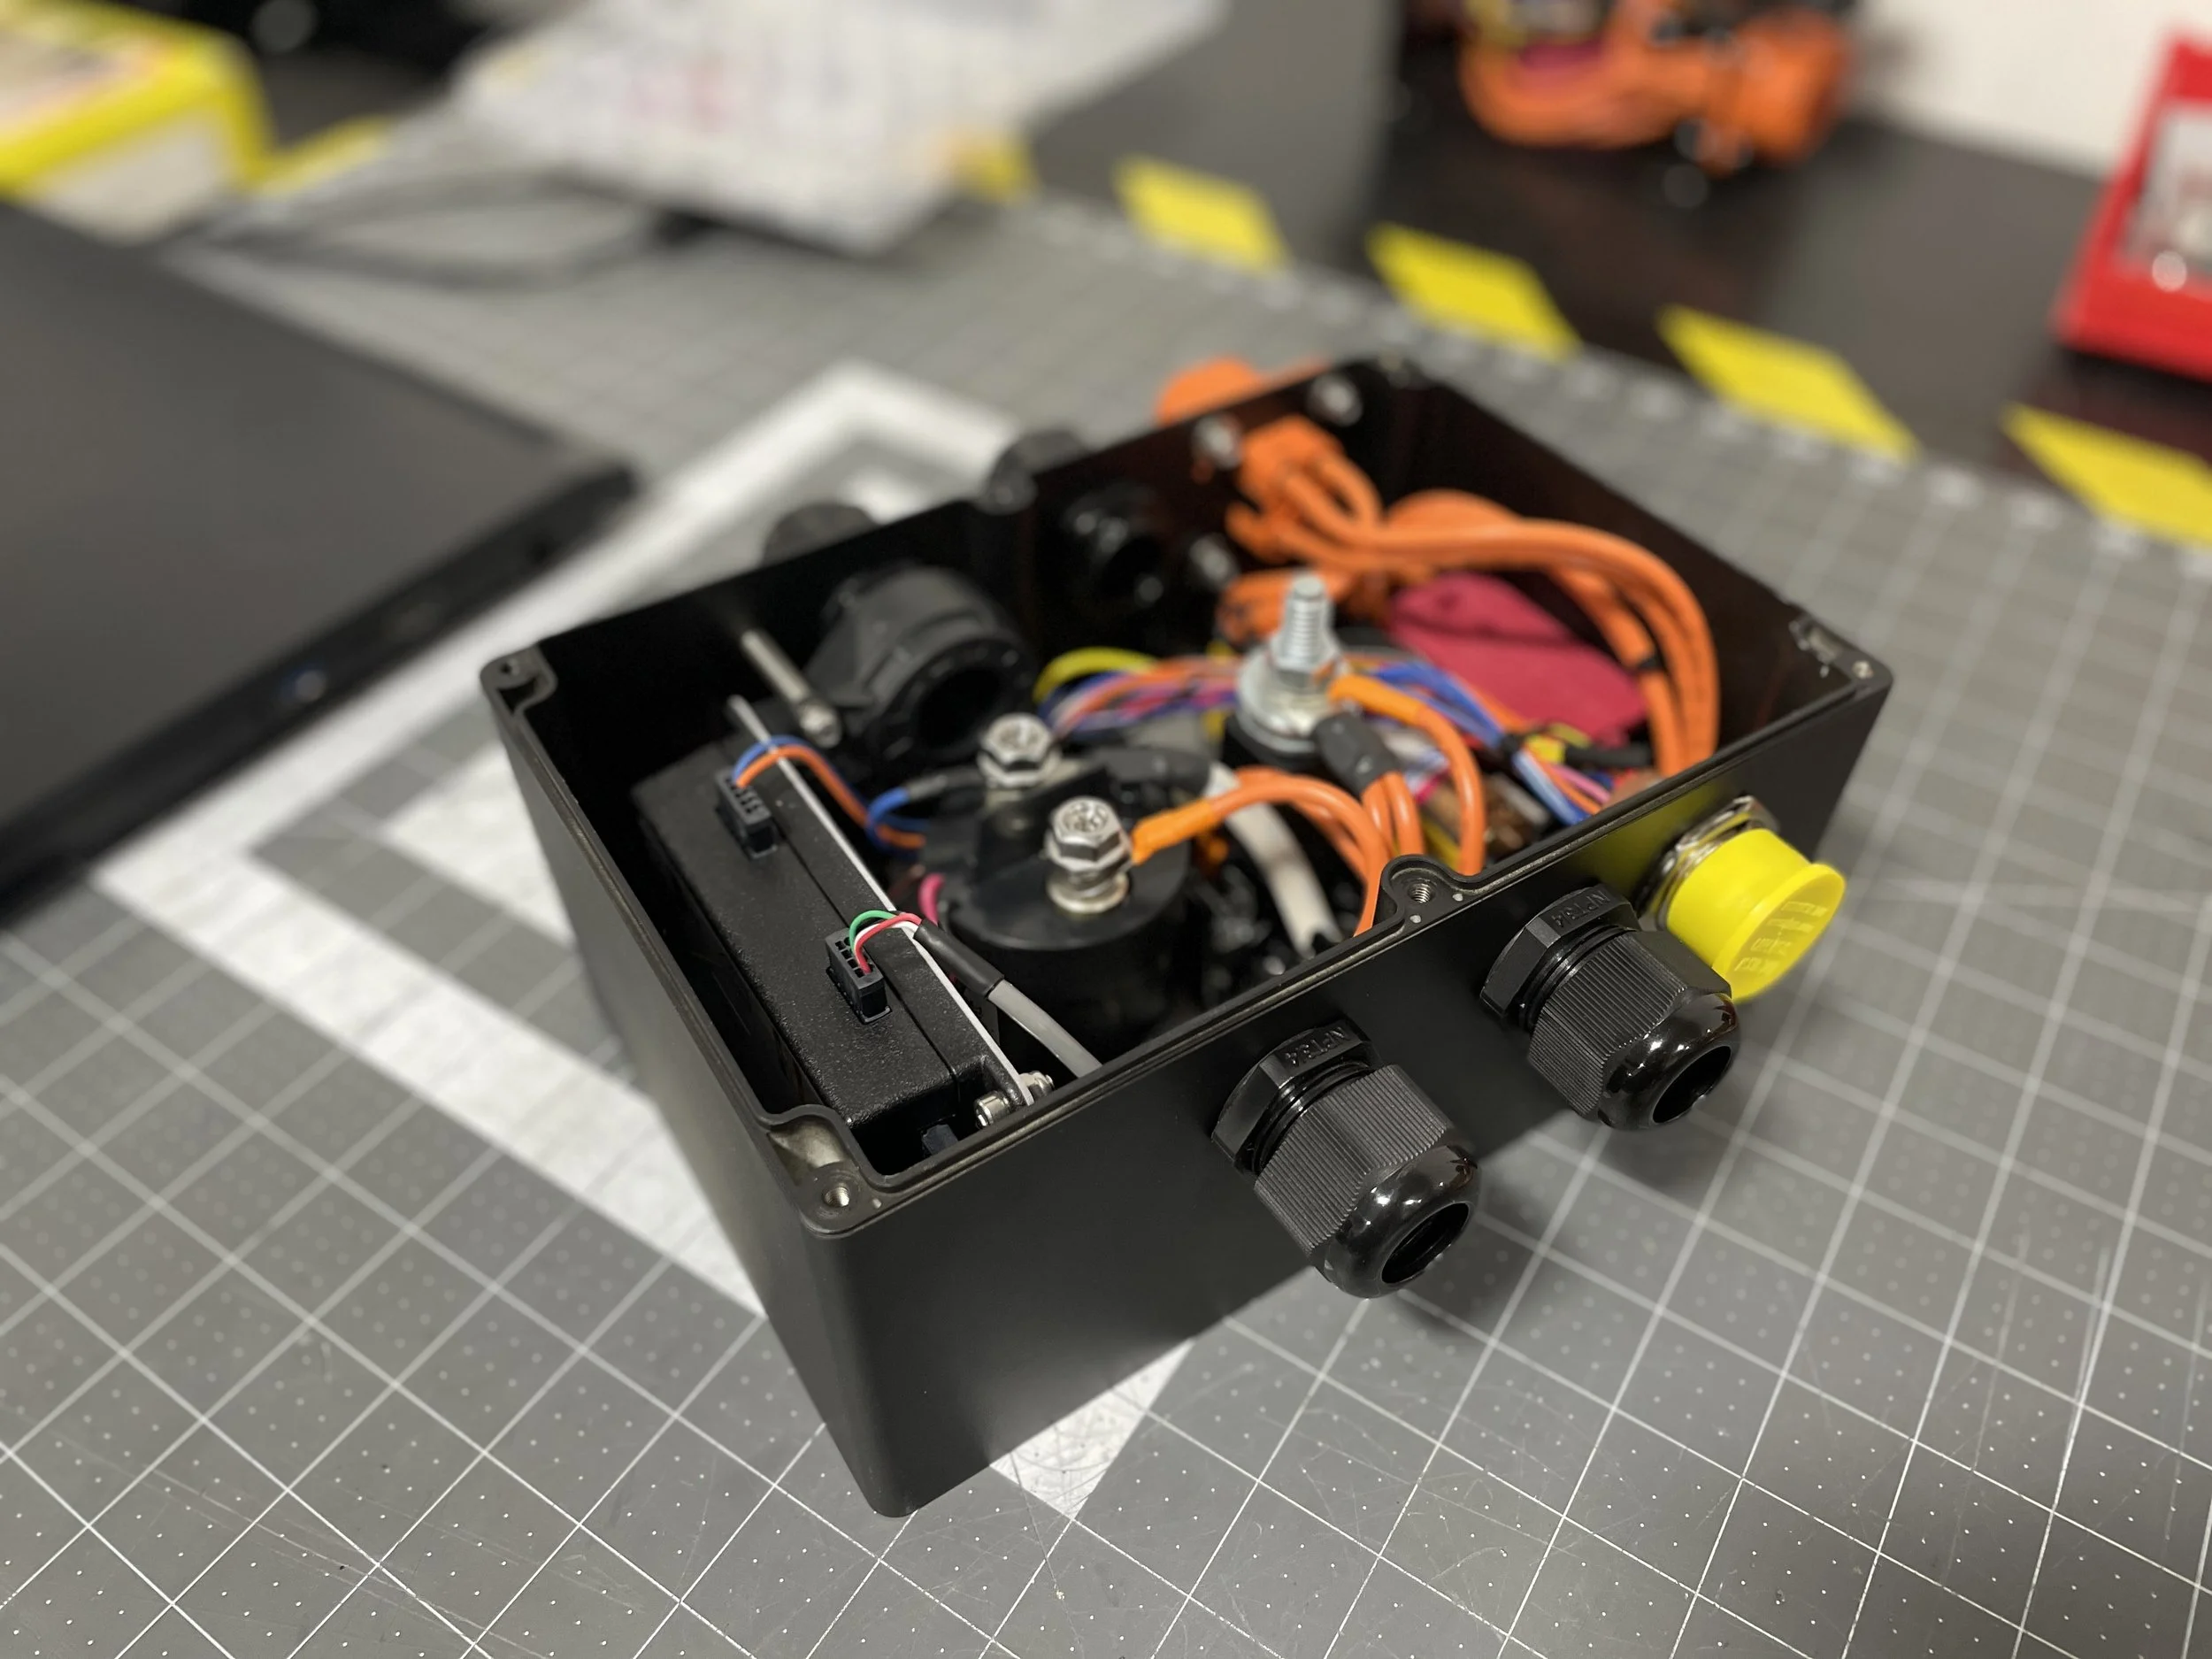
Contactor box is almost complete. We’re finalizing the last of the smaller gauge HV wiring and need to install the comm jack that allows us to program the master control unit for the battery management system.
Vintage has been working diligently on the Speedster. The paint looks fantastic.
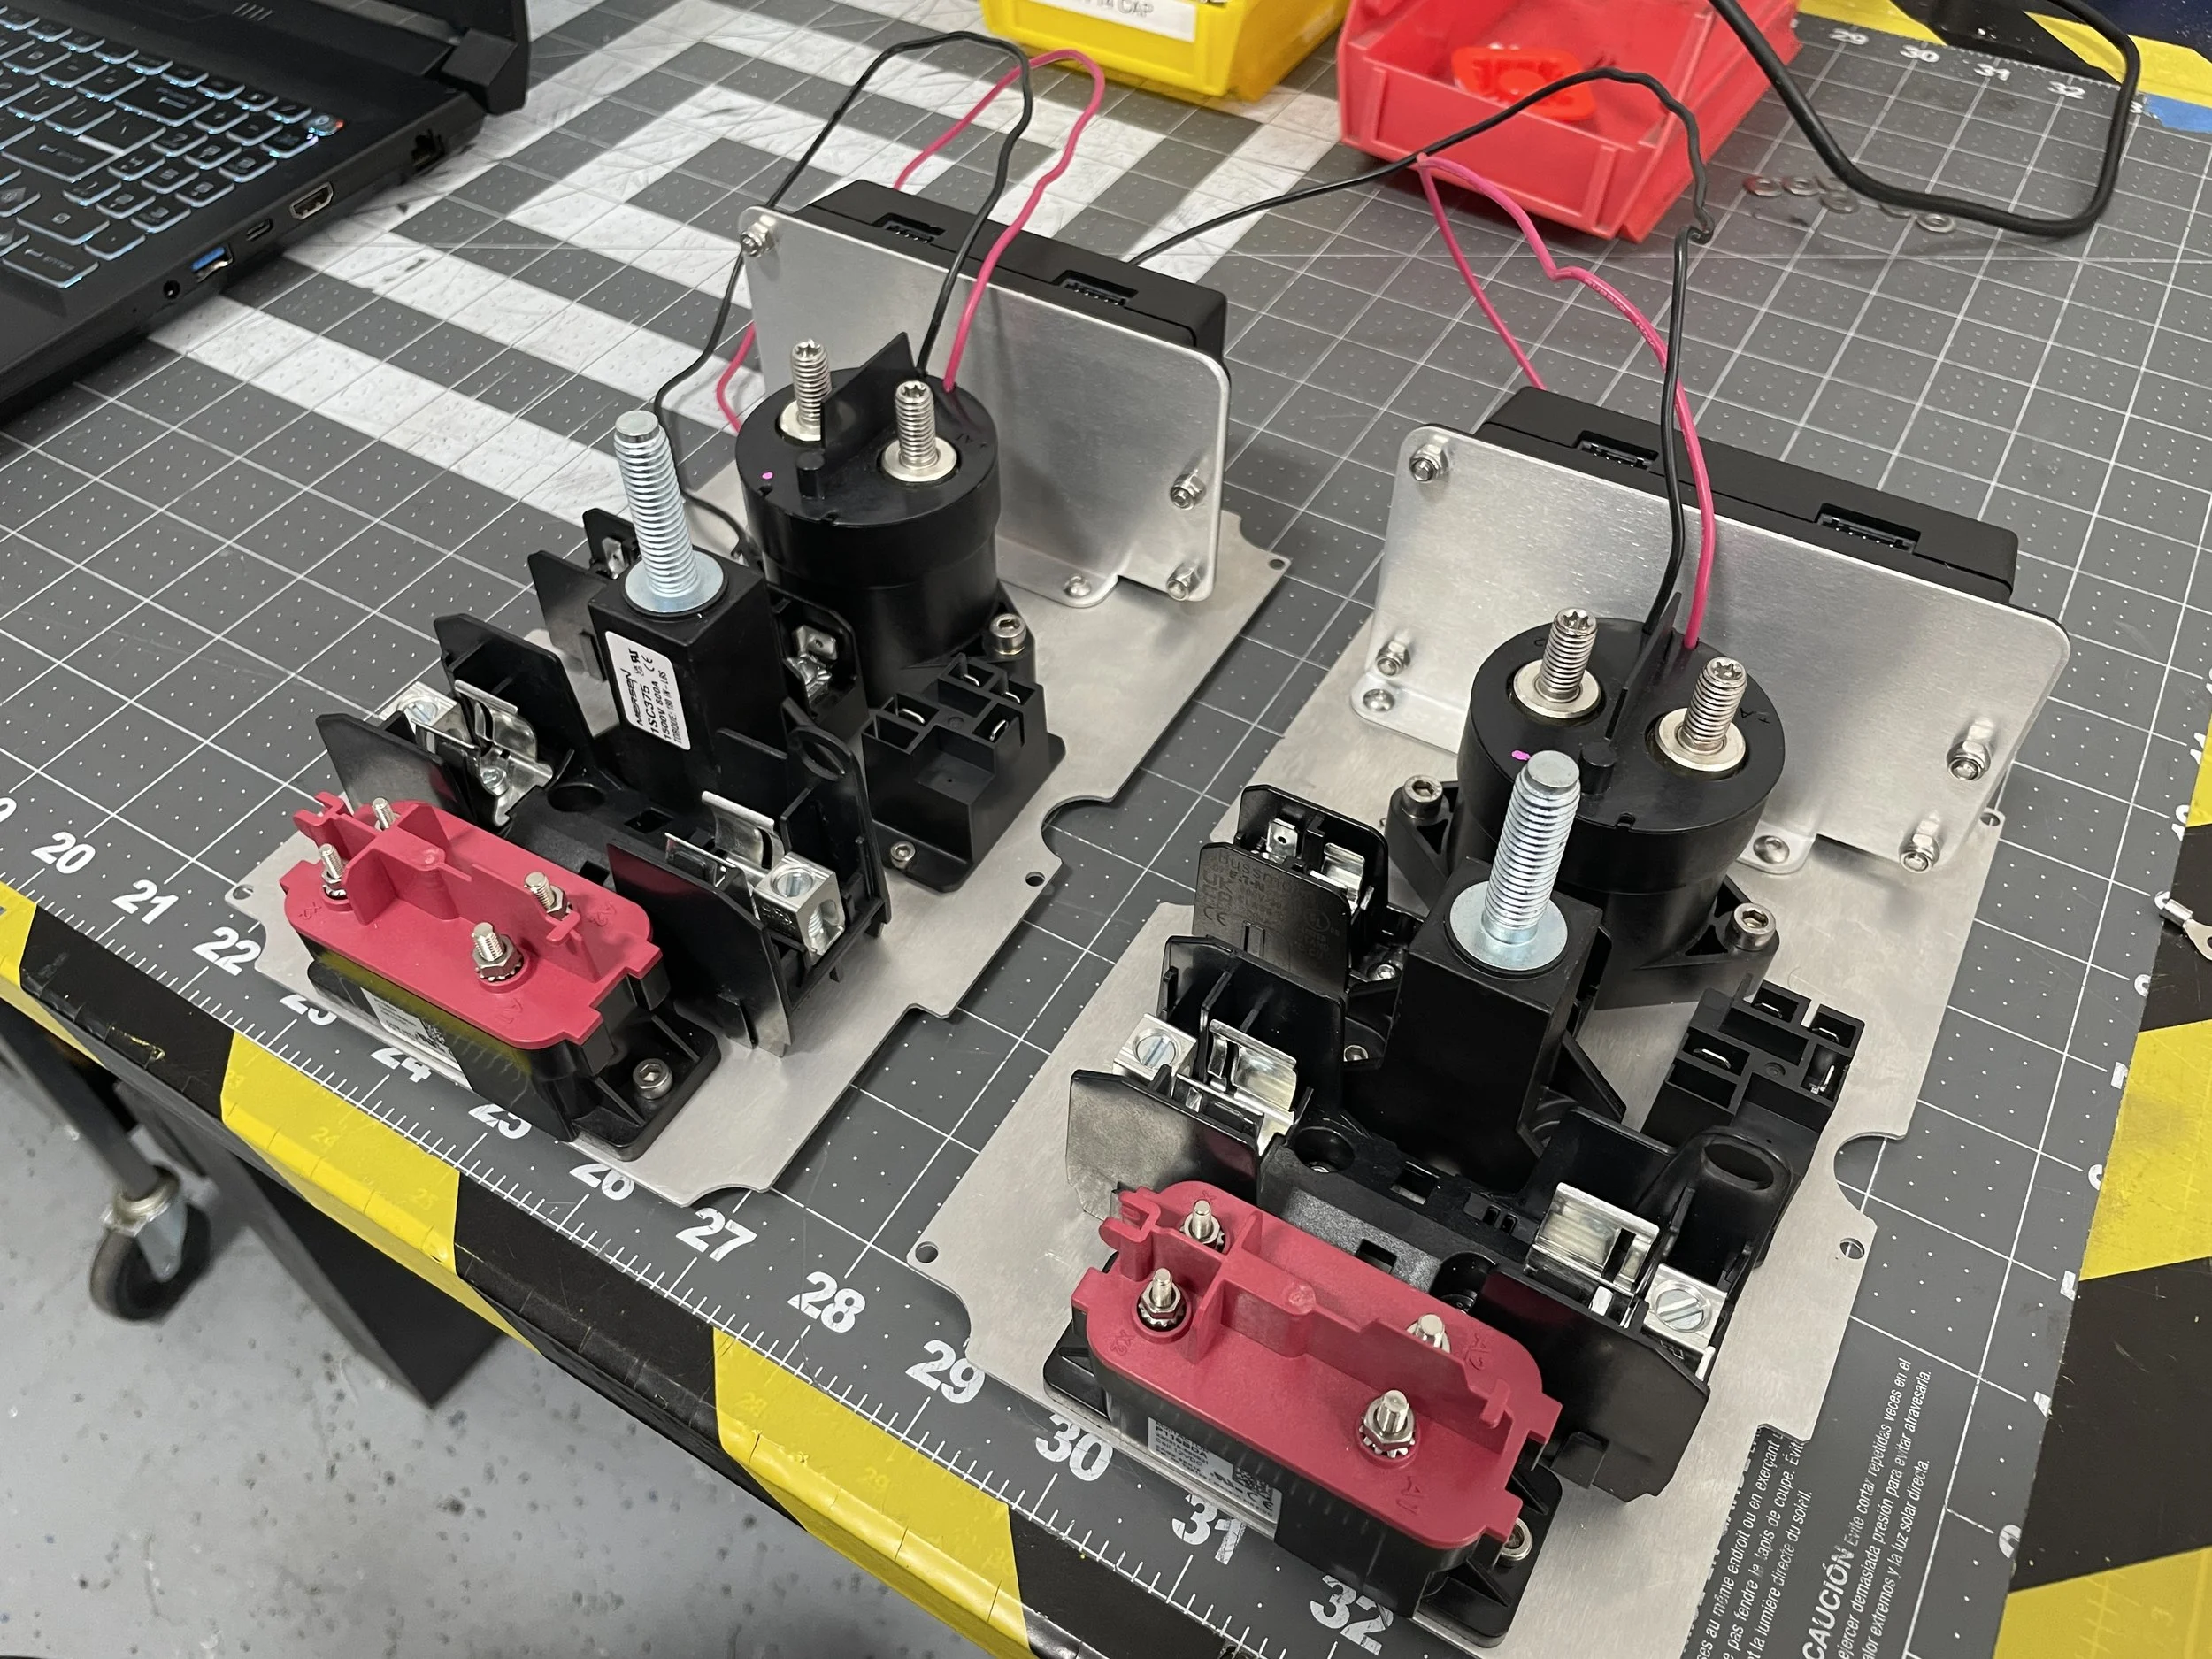
We started building the contactor box this week. Appropriately named since it houses the main contactor, plus a smaller contactor , a relay, and fuses. These help protect and manage the high voltage that enters the system from the batteries. Once installed it will be inconspicuously located but serviceable if necessary. Similar to the battery boxes, we’re building a few simultaneously.
Battery box building continues on. In the above pic, the busbars are installed, these connect the individual battery modules in series. This side of the box will have the battery management system (BMS) cell taps routed to the BMS module (pic below) from each individual module, as well as the giant 600V fuse that protects the system from any surges. In the last pic are a couple completed boxes.
Battery box assembly continues! The fittings mounted to this end plate are a quick release style to aid in servicing (and installation). These fittings are valved so they can self-seal when they are disconnected. Below are the internal coolant lines being installed.
Assembly of the battery boxes has begun. Above are three Tesla modules in place in the “3” box. Below is our “2” box. They slide in along channels machined into the inner box sides. After the box is built and the modules slid into place, they work on the cooling circuit that carries coolant to and through the modules. After that they’ll manufacture and connect the battery management system harness. In the last pic the hand built harnesses are coming together.
Our battery boxes arrived from the machine shop last week and, after a quick inspection, we sent them out to get powder coated before we start assembling them. These boxes are our 4th revision of a box design we have been using from the beginning - extremely compact with internal fusing and cooling, and an integrated battery management system.
Now that we have the boxes, we’ll begin assembling them next month and, eventually, they’ll look very pretty installed in the car:
We will be using the tried-and-true Tesla Model S/X battery modules in this car. We’ve sourced 7 modules from a P100 pack with less than 20,000 miles on it and they arrived this week. We use the P100 modules because they have a higher energy density than the base modules.
Each module has 6.4kWh (max), 5.75kWh (usable) energy
7 modules in this car will provide for about 40kWh of usable energy - enough for about 150 miles of range.
They are internally cooled to keep them in the ideal temperature range for driving and charging
The motor we will be using in this build is called the NetGain Hyper9HV. It’s a proven workhorse motor that is perfect for this little Porsche:
165lb-ft of instant torque and approximately 120hp - triple the stock gas engine
Modern synchronous reluctance permanent magnet design for efficiency
0-9K rpm range is perfect for emulating a combustion engine and bolting up to a transaxle
Integrated inverter package that allows for precise tuning in the car for just the right feel
Although the inverter and the battery pack will require liquid cooling, the motor is completely air-cooled so you can still tell your friends it’s “an air-cooled Porsche!”
Thankfully, our friends at NetGain had them in stock and were able to one to us pretty quickly!